Introduction
This is a continuation of the tutorial series. In this tutorial, we will learn about recent posts widget –
- Control and tabs.
- Planning the dynamic controls for content and style.
- How to render our widget in a page.
In this process, we will be using the render part first with static display without any control. Then we will start adding our controls to the widget for better understanding.
All other parts of this series can be found here –
- Concepts and basics of Elementor widget
- The skeleton of the widget
- Part 3 – You are reading…
- The controls and final output
- Project Files
Create the static render template with dynamic content
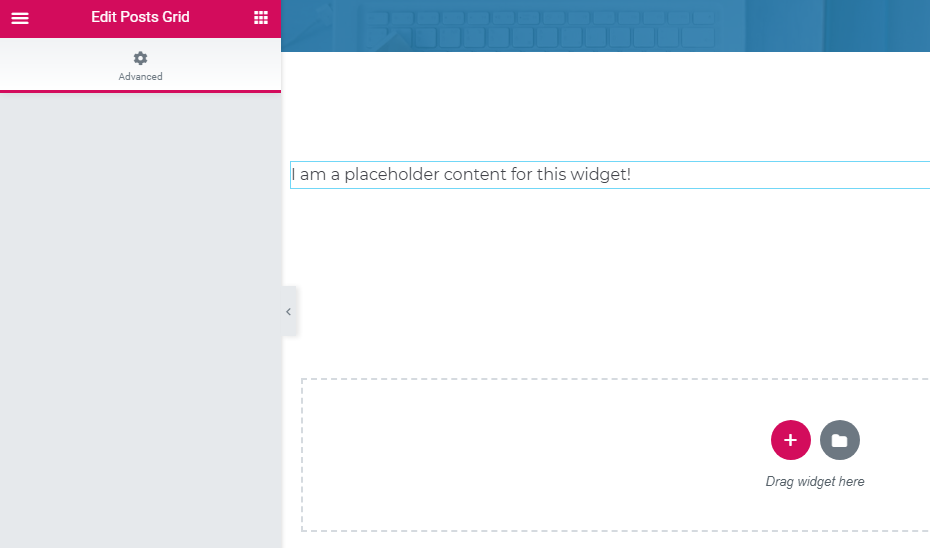
At this point, if we add our widget to a page, nothing will be displayed as our render() method is empty. But if we add some basic content, we will see it in the page. Let’s open the “tartist-posts-widget.php” file and go to render() function. Add the following code and save –
protected function render() {
        echo "I am a placeholder content for this widget!";
}
This is how it should look like –
Now, instead of echoing out a demo text, let’s put our code to fetch recent posts and display here. I am presuming that you know how to use WP_Query() object in regular WordPress coding. Let’s replace the render method with the following code.
protected function render() { ?>
    <div class="tartist-widget tartist-posts-grid">
        <div class="tartist-posts-grid__wrap">

            <?php
                $args = array(
                    'post_type'             => 'post',
                    'ignore_sticky_posts'   => true,
                    'post__not_in'          => array( get_the_ID() ),
                    'post_status'           => 'publish',
                    'posts_per_page'        => 10,

                );

                $the_query = new WP_Query( $args );

                // The Loop
                if ( $the_query->have_posts() ) :
                    while ( $the_query->have_posts() ) : $the_query->the_post();
            ?>
            <div class="tartist-posts-grid__post">

                <?php if( has_post_thumbnail() ) { ?>
                    <div class="post-thumbnail">
                        <?php the_post_thumbnail('medium_large'); ?>
                    </div>
                <?php } ?>

                <div class="post-content">
                    <div class="post-content__title">
                        <?php
                            printf(
                                '<h3><a href="%s">%s</a></h3><span>%s</span>',
                                esc_url( get_the_permalink() ),
                                esc_html( get_the_title() ),
                                esc_html( get_the_date() )
                            );
                        ?>
                    </div>
                    <div class="post-content__content">
                        <p><?php echo esc_html( wp_trim_words( get_the_excerpt(), 25 ) ); ?></p>
                        <?php
                            printf(
                                '<a href="%s" class="tartist-widget-btn">%s</a>',
                                esc_url(get_the_permalink()),
                                esc_html__('Read More','tartist-elementor-extension')
                            );
                        ?>
                    </div>
                </div>

            </div>
            <?php
                    endwhile;
                else:
                    echo esc_html__('Sorry, no item found in this criteria.','tartist-elementor-extension');
            endif; //endif

            // Reset Post Data
            wp_reset_postdata();
            ?>

        </div>
    </div>

<?php }/* render() ENDS HERE */
The above code will fetch and render your 10 recent posts. Let’s add some basic CSS codes for the display of this HTML. Please open the style.css file and place the code below.
/*
* Posts Grid
*/
.elementor .tartist-posts-grid__post{
  margin-bottom: 30px;
  background-color: #ffffff;
}
.tartist-posts-grid__post .post-content{
  padding: 20px;
}
@media (min-width: 600px){
  .tartist-posts-grid__wrap{
    display: grid;
    grid-template-columns: repeat(3,1fr);
    gap: 30px;
  }
}
.tartist-posts-grid__post {
  box-shadow: 1px 2px 4px rgba(0,0,0,0.150);
  overflow: hidden;
}
.post-content__content {
  margin-top: 15px;
}
Now that we have some CSS code in place, let’e enqueue the CSS file. Please open the main “tartist-elementor-extension.php” file, add the following code after this line Tartist_Elementor_Extension::instance()
/**
 * 1. enqueue the required css/js
 */
function tartistElementor__enqueue_scripts(){
    wp_enqueue_style( 'tartistElementor-style', plugins_url( 'style.css', __FILE__ ) );
}
add_action( 'wp_enqueue_scripts', 'tartistElementor__enqueue_scripts' );
At this point, if you refresh your page, your widget should render your posts similar to the image below –
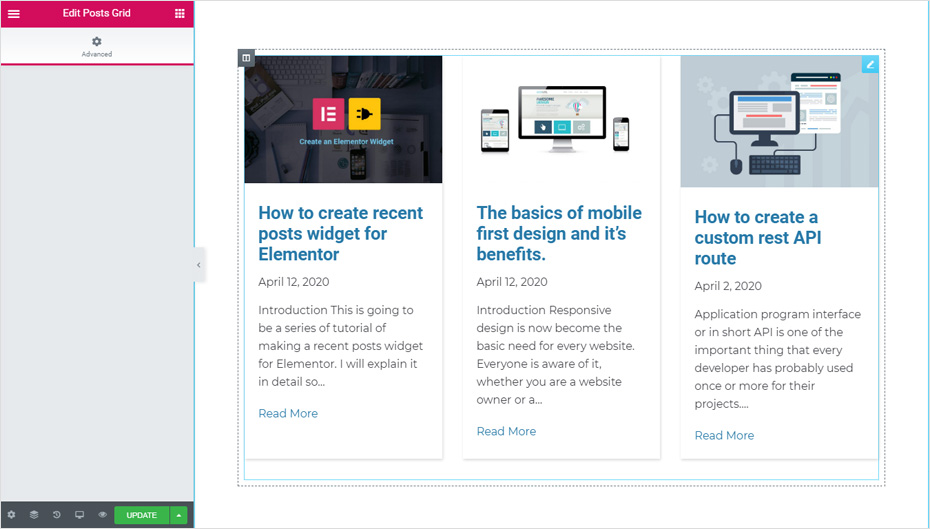
Now we already have the static posts grid with dynamically fetched posts. Why I am calling this “static posts grid” is because we still don’t have any control settings for the content or styling of this widget. However, if you want you can keep this as is. But if you want precise controls over the content and design, then you have to write codes for the same.
Widget control and tabs
As per the available Elementor Controls, we will be using some basic controls here. Before starting the coding, I would like to mention few things about the whole control management process. There are 3 types of tabs available in the Elementor panel.
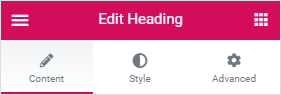
- Content Tab
- Style Tab
- Advanced Tab
The “Content” tab will contain our data entry settings for the widget. The “Style” tab will contain our widget style settings and the “Advanced” tab will contain the default settings provided by the Elementor only. So we will be working on first two tabs.
Any control should be assigned to either “Content” tab or “Style” tab. For this, we will be using $this->start_controls_section for the tabs and then we will use $this->add_control to assign controls under that particular tab. These accepts mainly 2 parameters, first is the “ID”, second is the array of settings.
Planning the dynamic controls for content and style
In our next and final tutorial, we will be creating actual code for our controls. But let’s see what we are going to make dynamic.
In content tab:
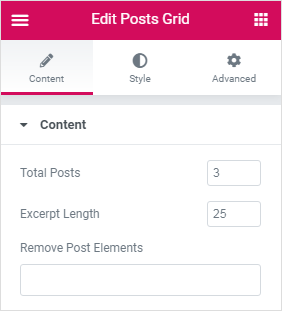
We shall do the following –
- “total posts” dynamic. Basically this line of code –
'posts_per_page' => 10 - “excerpt” length dynamic. Basically this line of code –
wp_trim_words( get_the_excerpt(), 25 ). - The display of “featured image” optional.
In style tab:
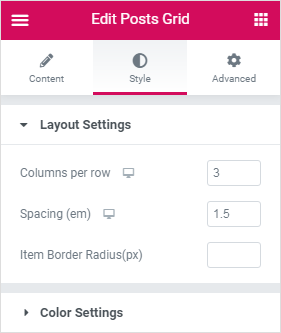
We shall do the followings:
- “Columns per row” dynamic.
- “Column spacing” dynamic.
- “Item border radius” option.
- “background color” option.
- “Item text color” option.
See you in our next and final chapter of this tutorial series.